10 Essential Lower Back Stretches to Help Ease Tension

A low-effort approach to maximum relaxation.
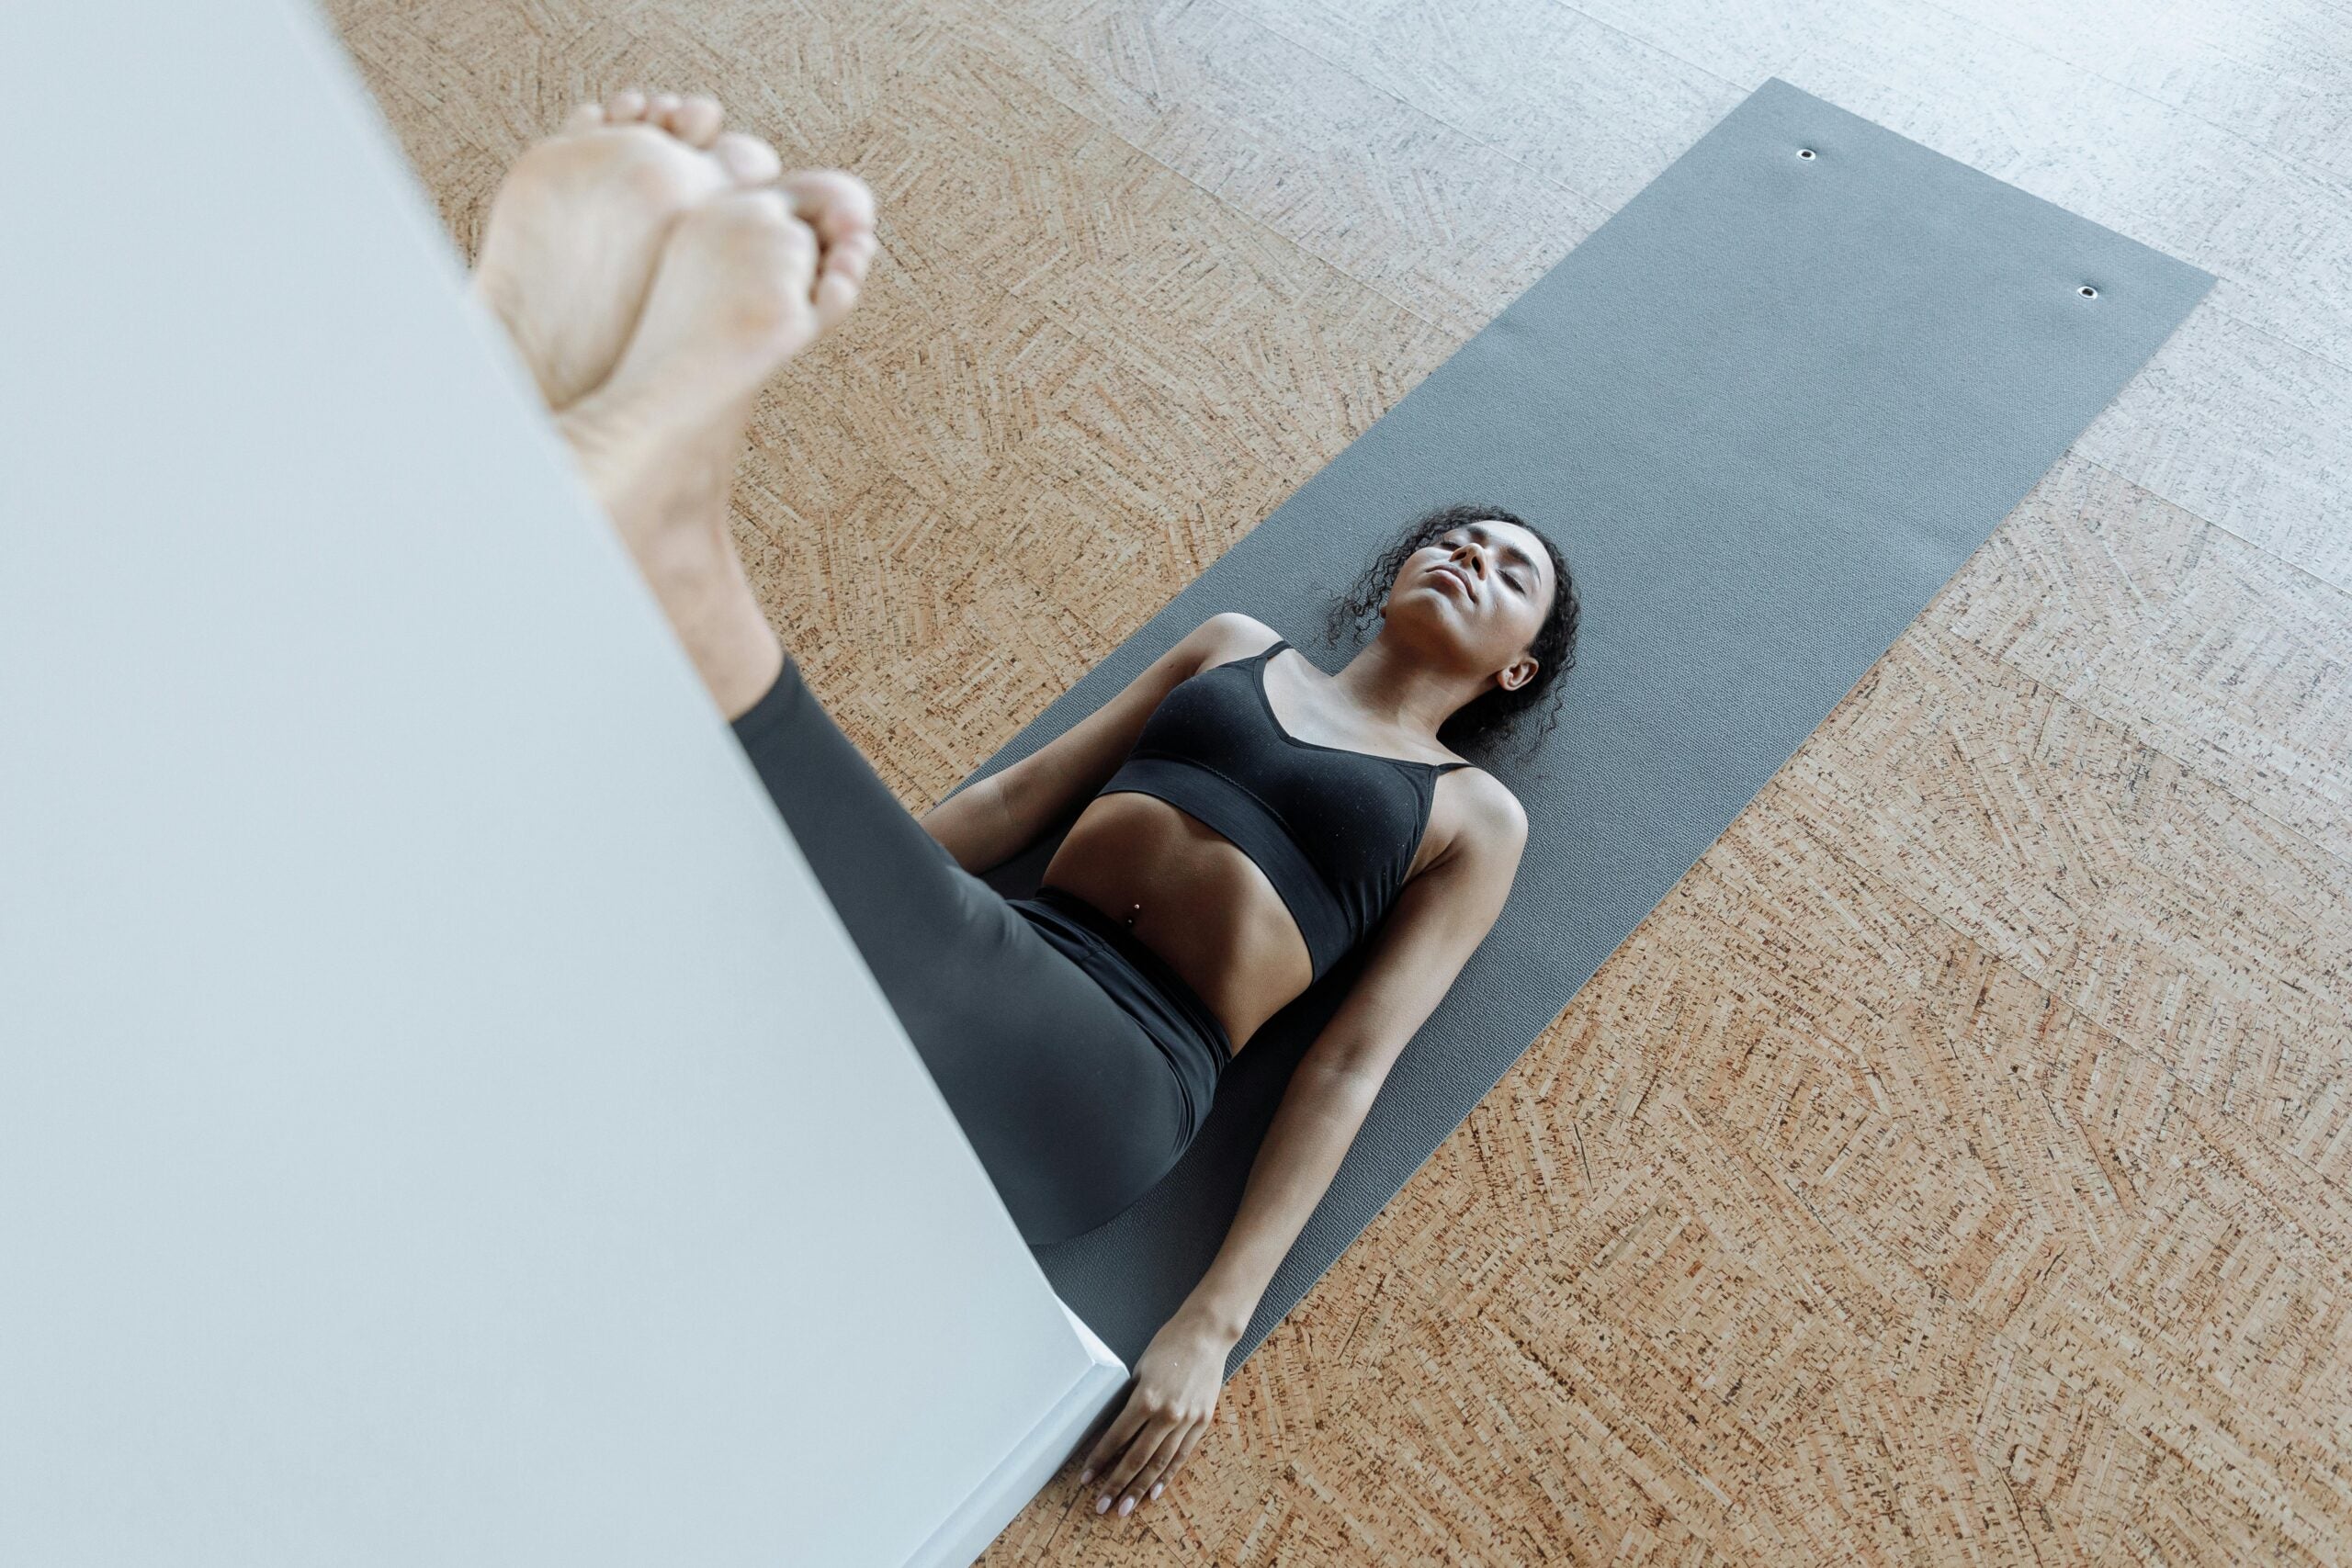
(Photo: Thirdman | Pexels)
Published October 28, 2025 05:02AM
Dull aches. Sharp pinches. Warm, tingling sensations. If you’re someone who’s experienced lower back pain, you know how all-consuming it can feel, and you’re not alone. In fact, it’s one of the most common reasons people practice yoga stretches for the lower back.
As a yoga teacher, I’ve learned that many students think backbends will help lower back discomfort. Although backbends in yoga can help counteract the effects of prolonged sitting or poor posture—both major contributors to lower back injuries—these postures aren’t always ideal when you need relief. Pushing your body into Cobra or Wheel Pose can place undue pressure and intensify, rather than ease, strain on the lower back.
Yet there is a wide range of yoga poses that gently release and strengthen the lower back without force. Pairing these less-intense movements with deep breathing helps relieve tension and protect a sensitive lower back.
When Should You Avoid Backbends?
The lower back (lumbar spine) already has a natural curve, known as lordosis. When you practice a backbend, you exaggerate the curve, which compresses the vertebrae and can strain surrounding muscles. This can aggravate pain instead of soothing it, especially for those experiencing sciatica, herniated discs, or muscle tightness from prolonged sitting.
Although backbends can be therapeutic in other contexts, you can nurture a tense lower back in a safer, more sustainable way. Instead of forcing yourself into intense stretches, try gentler poses that help decompress the vertebrae and alleviate muscle tightness. These postures also engage the core, glutes, and hamstrings to stabilize the lumbar spine and lighten the load on the lower back.
10 Yoga Stretches for the Lower Back
These are poses you can return to any time your lower back feels tight. Grab a bolster or blanket and a block or a stack of books to help make some of the stretches more doable. Practice slow, deep breathing to calm tension in your body and guide your lower back into release.
If any pose is uncomfortable, either ease the intensity or skip it. And if you’re experiencing persistent or worsening pain, consult with your doctor before practicing.
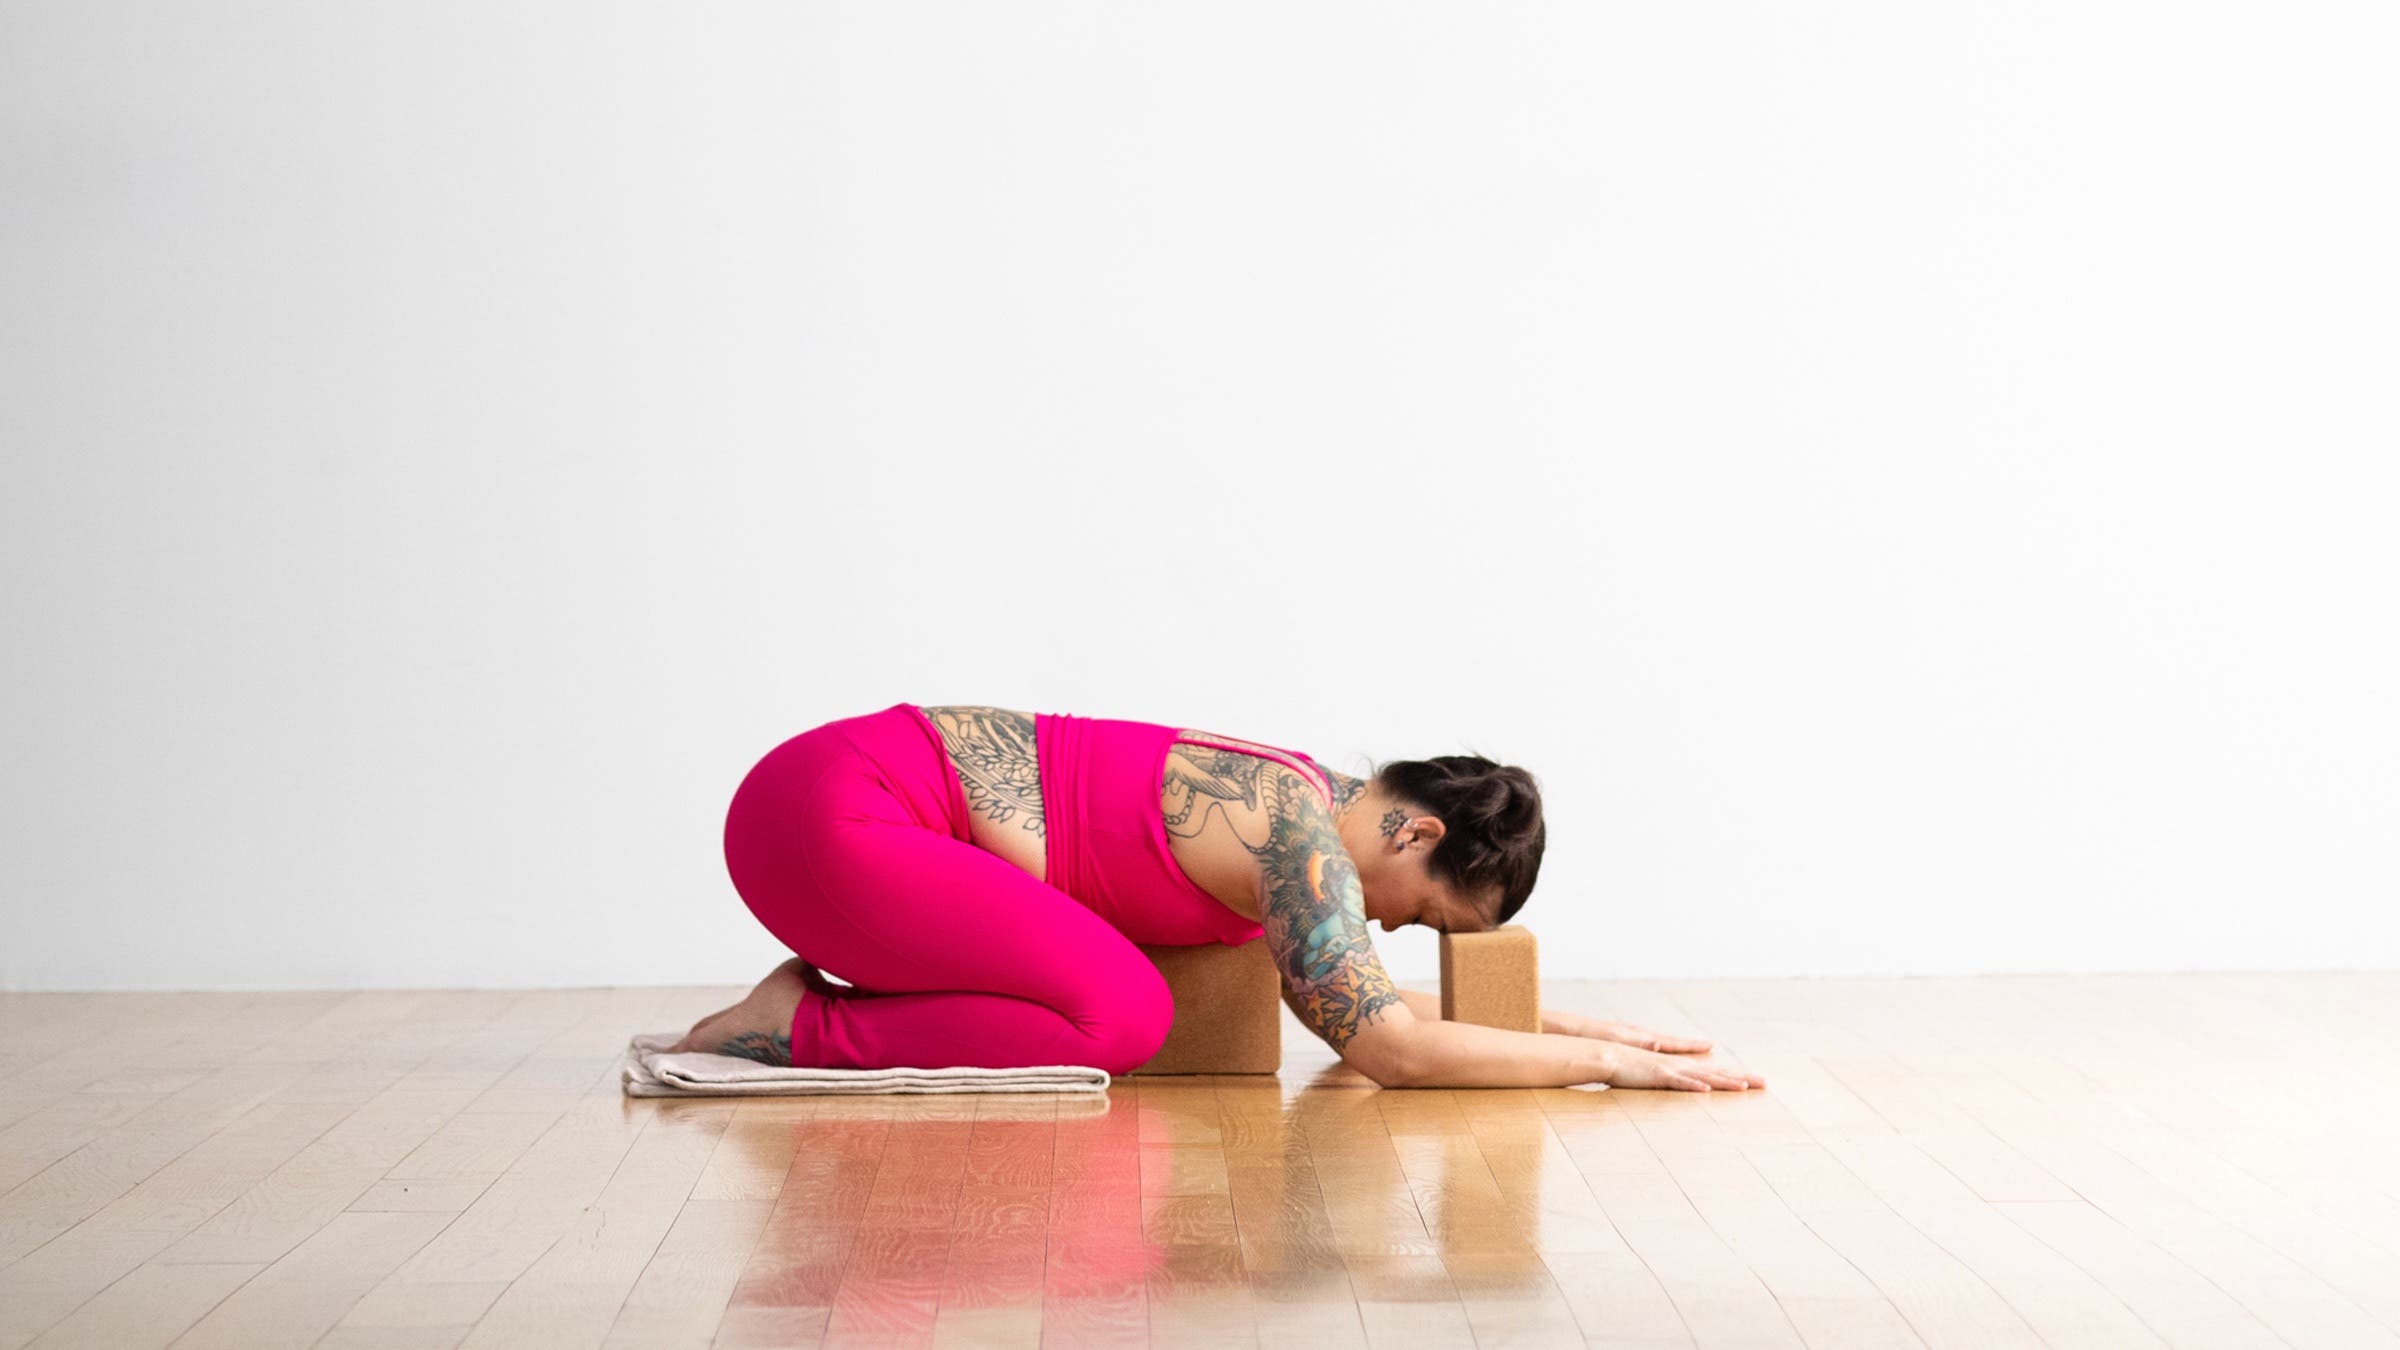
1. Child’s Pose (Balasana)
The lower back muscles release from their habitual grip in Child’s Pose. Add a bolster or pillow under the chest to make the pose more supported.
How to:
- Kneel on the mat. Touch your big toes together and either keep your knees together or take them wide. Sit your hips back toward your heels.
- Exhale and walk your hands forward as you lower your chest toward the floor in Child’s Pose. Rest your forehead on the floor, a pillow, a folded blanket, or a block. You can also place a block underneath your chest. Stretch your arms forward with your fingers spread wide. Release all effort here. Breathe here for as long as is comfortable.
2. Supine Knees-to-Chest (Apanasana)
Tightness in the hips and glutes often contribute to lower back pain. This stretch helps address both.
How to:
- Lie on your back and draw your knees toward your chest. Wrap your arms around your shins or gently hold onto your knees. Stay here or, if it’s comfortable, gently rock side to side to massage the lower back. For a milder stretch, draw one knee toward your chest at a time, placing the opposite foot flat on the floor. Breathe here.
3. Supported Reclining Spinal Twist (Supta Matsyendrasana)
Twists can be challenging for the lower back, but this reclined variation with the knees supported provides less rotation and more release.
How to:
- Lie on your back and with your arms straight to the sides in a T shape. Bend your knees with your feet flat on the floor.
- Inhale as you lift one foot off the floor and then the other, drawing your knees over your hips. Exhale as you gently lower your knees to the left, placing your bottom calf on a block or stack of books or some pillows. Keep your shoulders on the floor. Gaze toward the ceiling or, if it’s comfortable, bring your gaze toward the right in Reclining Spinal Twist. Rest your legs into the support beneath it. Take a few breaths here, then draw your legs back to center and switch sides.
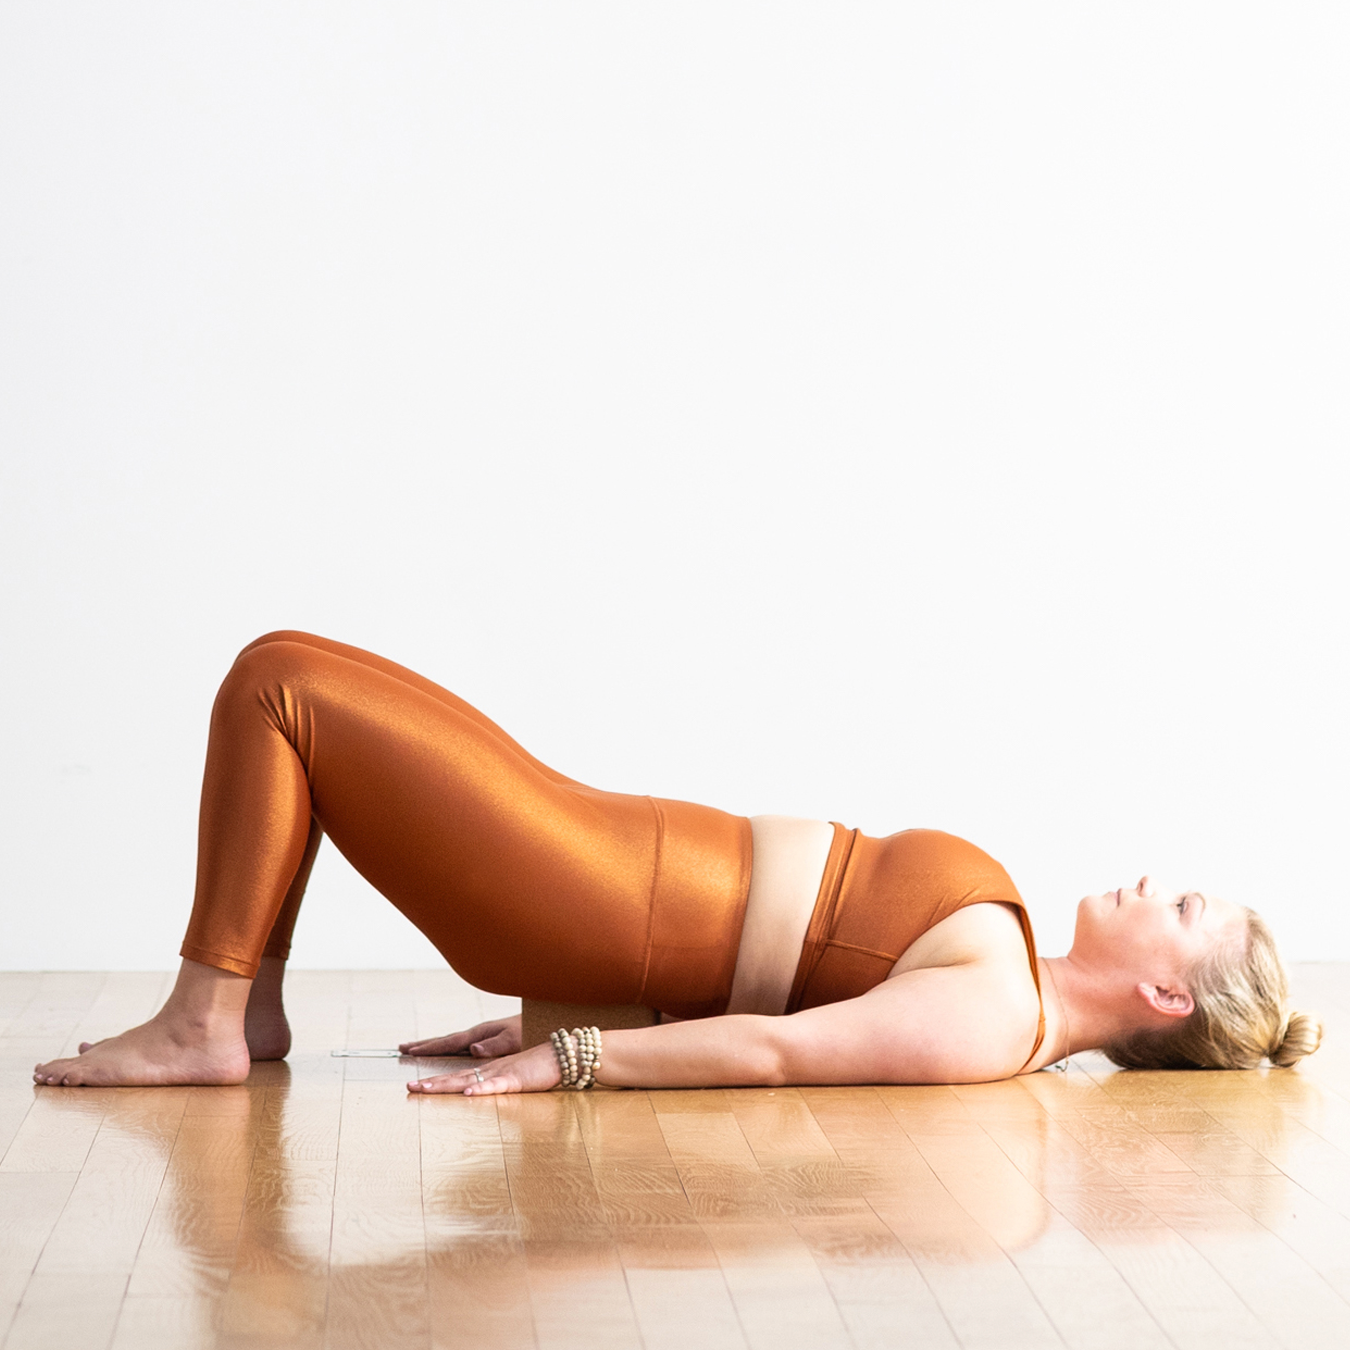
4. Supported Bridge (Setu Bandhasana)
The restorative version of Bridge Pose avoids overly extending the lower back and instead creates a supported way to release the surrounding muscles.
How to:
- Lie on your back with your knees bent and your feet on the floor, hip-distance apart. Rest your arms by your sides with your palms facing down.
- Inhale and press your feet into the floor as you lift your hips. Place a block or a couple pillows underneath your sacrum and rest your weight onto the support. Draw your shoulder blades underneath you in Bridge Pose. Breathe here for 10-15 seconds.
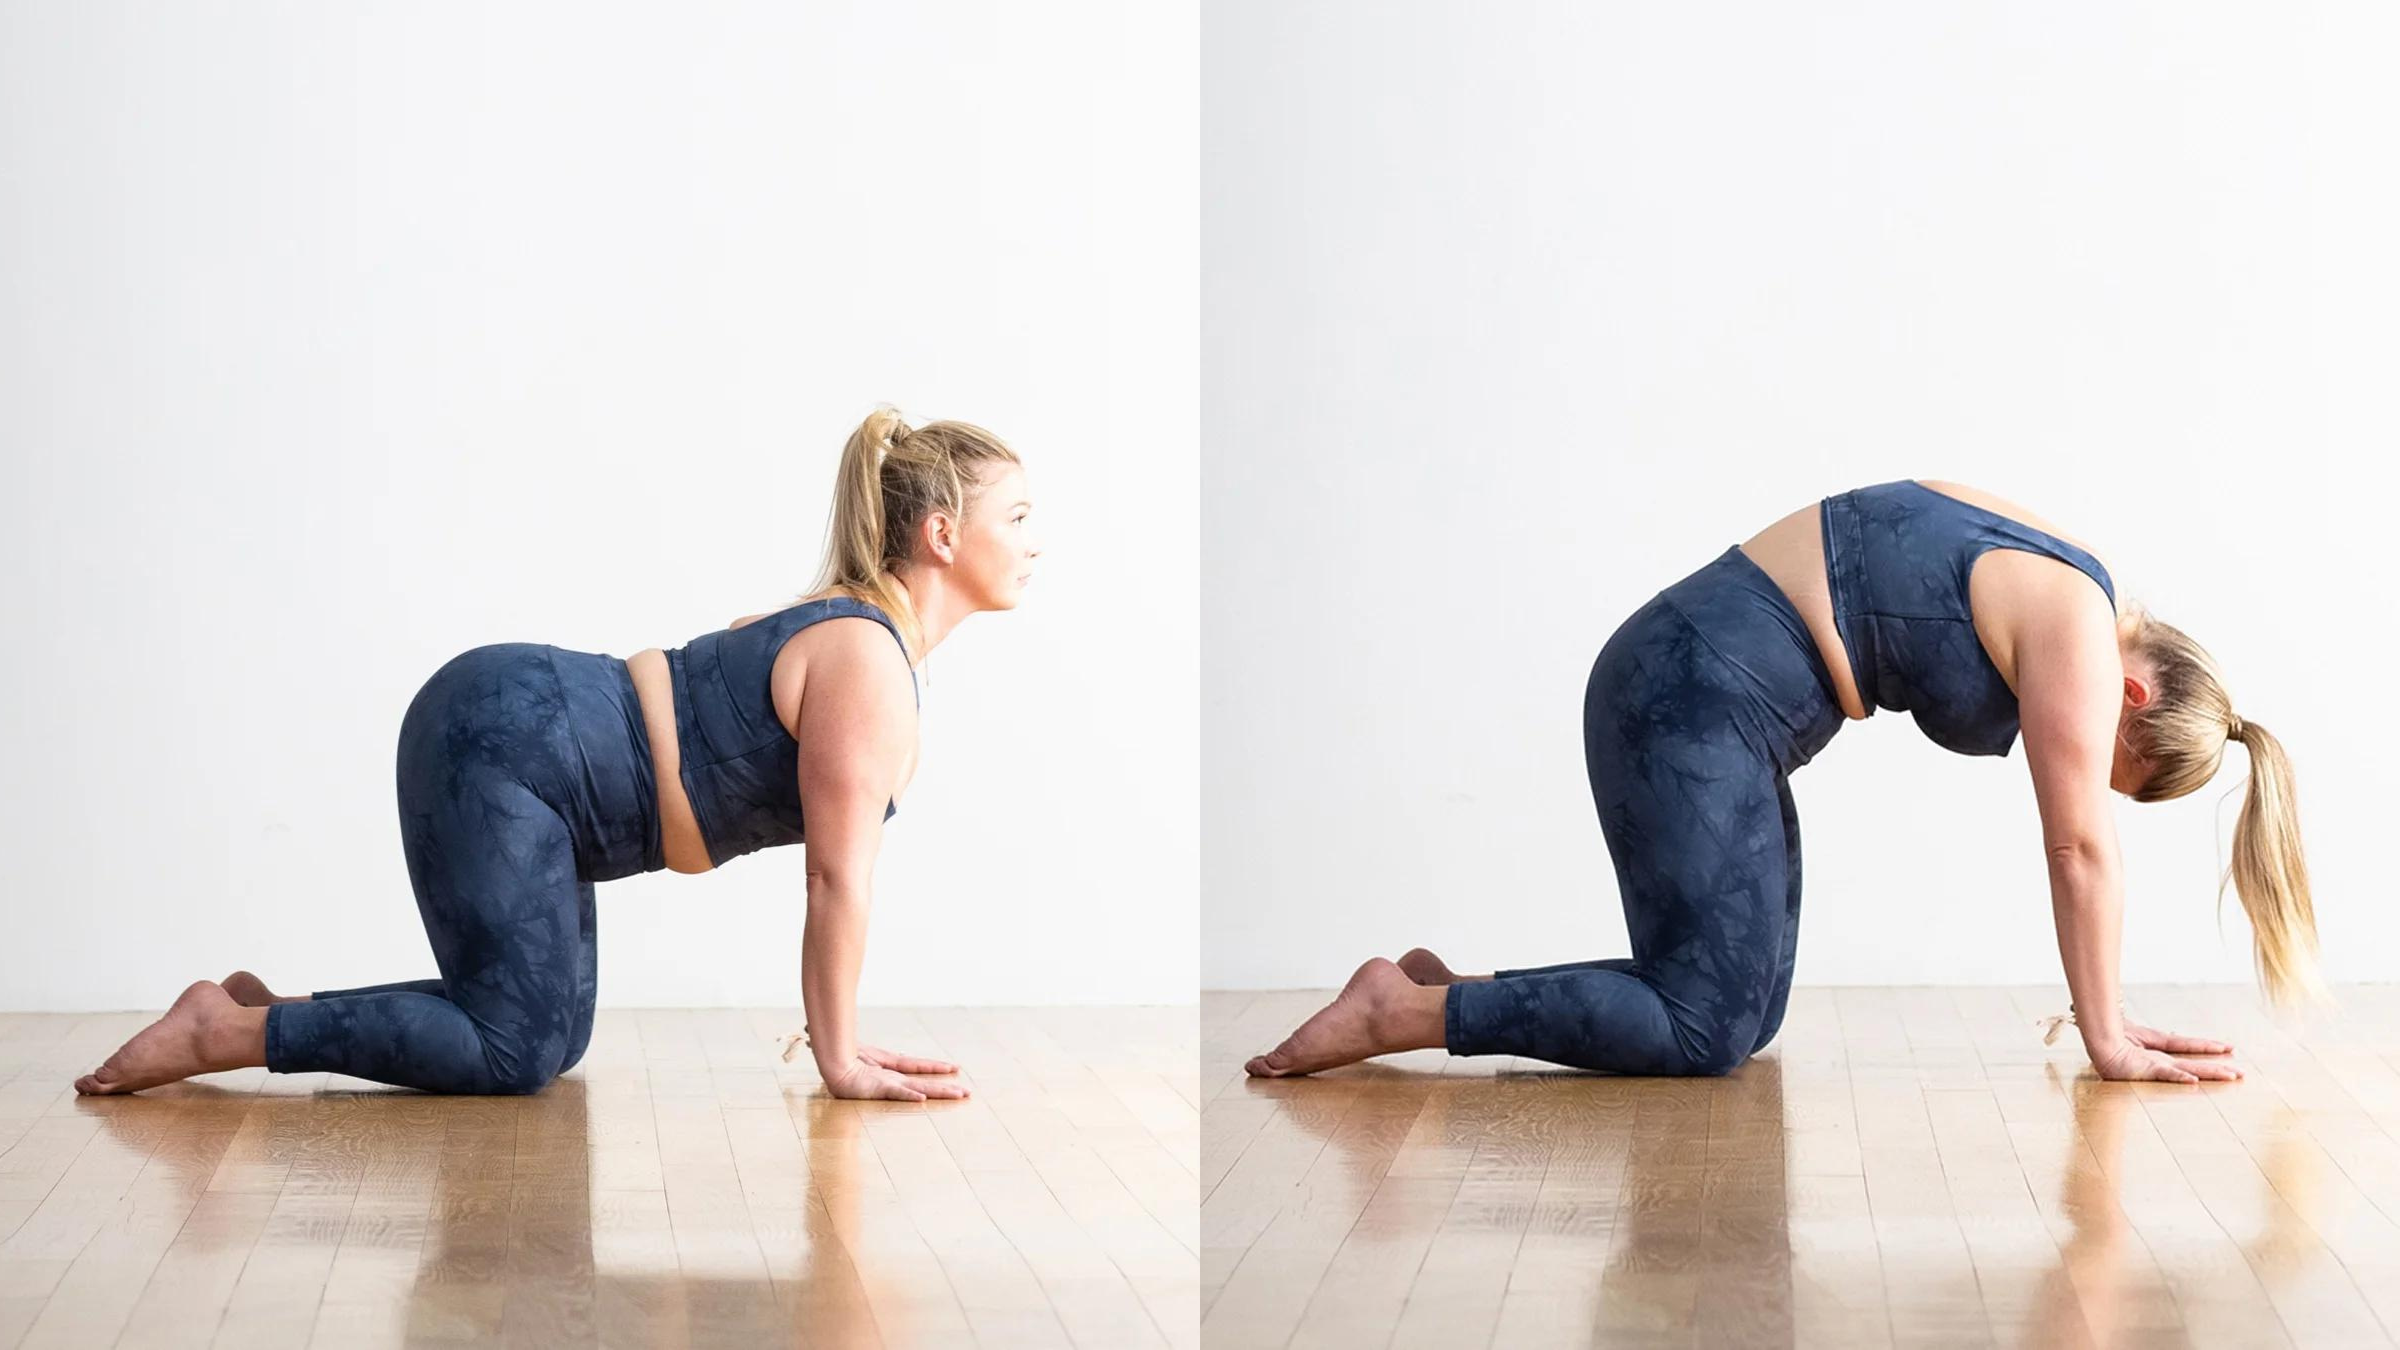
5. Slow Cat-Cow (Marjaryasana–Bitilasana)
Taken slowly with the rhythm of the breath, Cat-Cow encourages mobility in the spine and teaches controlled movement—a valuable lesson to apply off the mat as well.
How to:
- Come to your hands and knees with your shoulders stacked over your wrists and your hips over your knees.
- As you inhale, lift your chest and arch your back, allowing your belly to sink toward the mat in Cow Pose.
- As you exhale, round your back and draw your chin toward your chest in Cat Pose. Repeat as many times as feels comfortable.
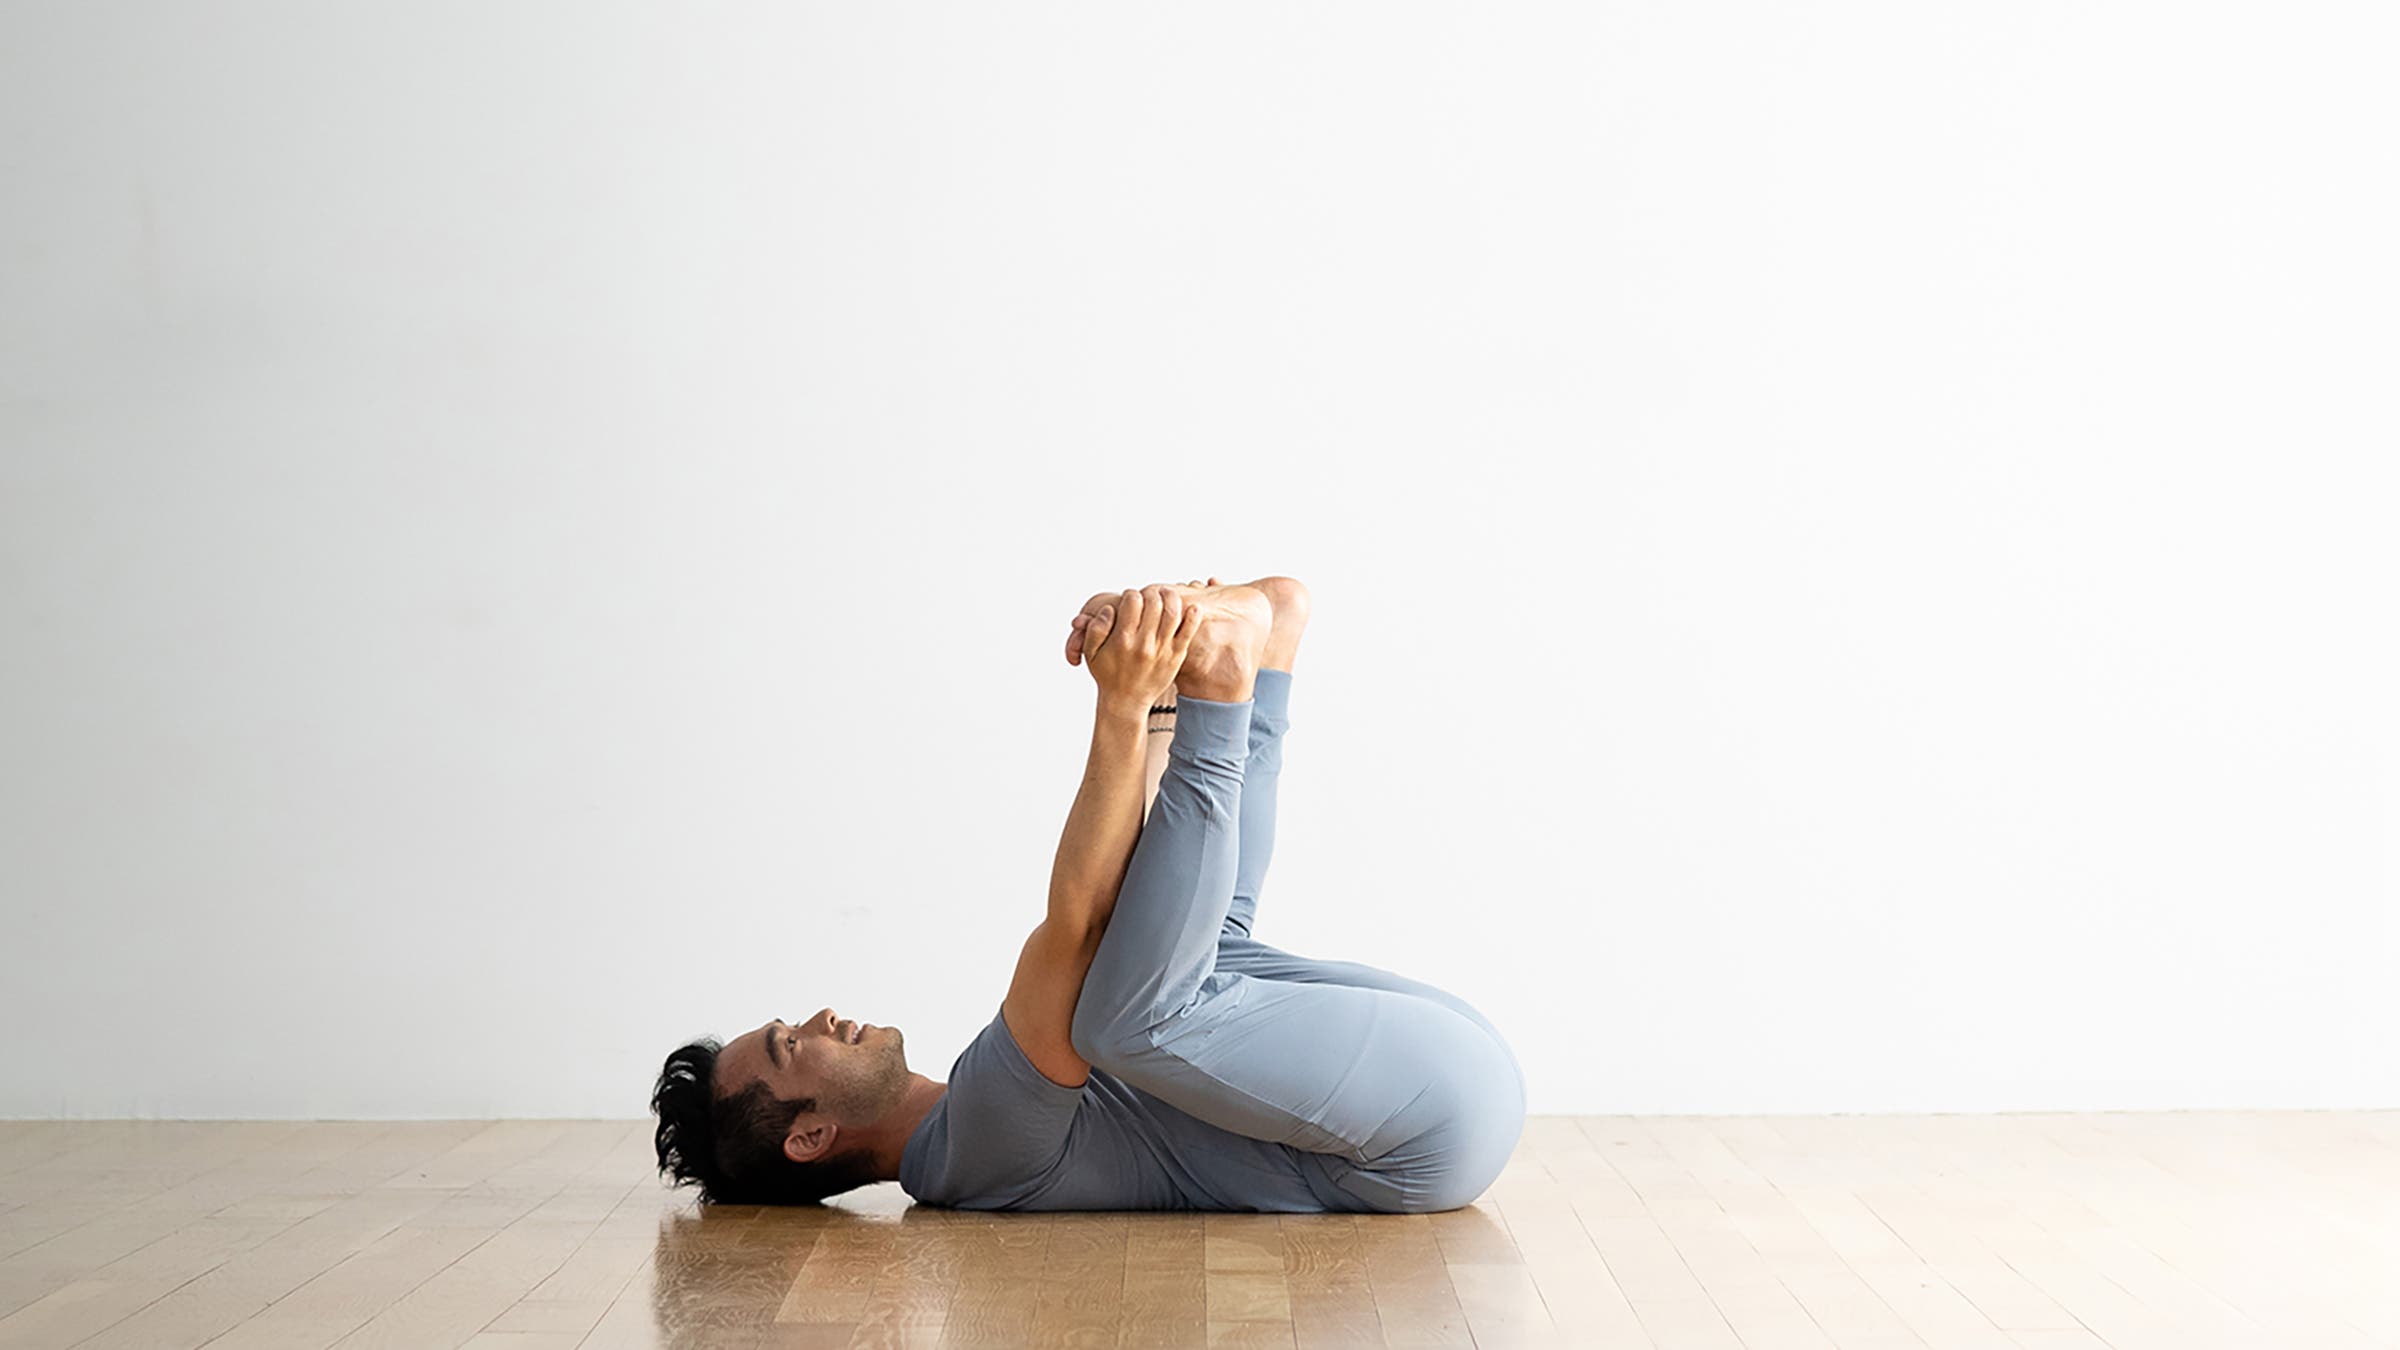
5. Happy Baby (Ananda Balasana)
A hip stretch that encourages the lower back to lengthen, Happy Baby helps balance the body after a long day of sitting or standing.
How to:
- Lie on your back. As you exhale, bend your knees and draw your feet toward your belly.
- Inhale and grasp your outer feet with both hands or loop a strap or belt around each foot. Exhale and open your knees slightly wider than your torso, drawing them toward your armpits. Draw your heels toward the ceiling in Happy Baby Pose. Stay here or rock gently side to side to massage your lower back. Breathe here.
6. Supported Forward Fold (Paschimottanasana, restorative variation)
Instead of forcing yourself into the stretch, the emphasis here is on surrender. Allow the weight of your torso to help release tightness in your lower back and hamstrings.
How to:
- Sit on the mat with your legs extended in front of you and a rolled blanket or towel underneath your knees so your legs are bent. Place a bolster or stack of pillows on your thighs.
- Exhale and hinge forward from your hips, lowering your chest toward the bolster. Place your hands on the mat on either side of your thighs in Seated Forward Bend. Breathe here.
7. Supported Pigeon Pose (Eka Pada Rajakapotasana)
Stretching the hips enables the pelvis to move more freely, which reduces the pull on the lower back. Pigeon Pose helps with that. If this feels too intense, try practicing Reclined Figure 4 instead.
How to:
- Come to your hands and knees. Slide your left knee forward, resting your outer left shin on the floor. Place a block or stack of books underneath your left hip for most support. Slowly slide your right leg back, straightening your knee behind you. Lift your chest as you draw your right hip slightly forward Supported Pigeon Pose. Take a few breaths here, then release and switch sides.
8. Seated Wide-Angle Side Bend (Parsva Upavistha Konasana)
As you breathe deeply in this stretch, feel the tension slowly release from those often-overlooked side body muscles.
How to:
- Sit tall with your legs spread as wide as is comfortable. Point your toes toward the ceiling.
- Reach your right arm overhead and toward the left as you lean your left ribs over your left thigh. Keep both shoulders facing forward. Breathe here and then return to center. Reach your left arm overhead and repeat on the opposite side.
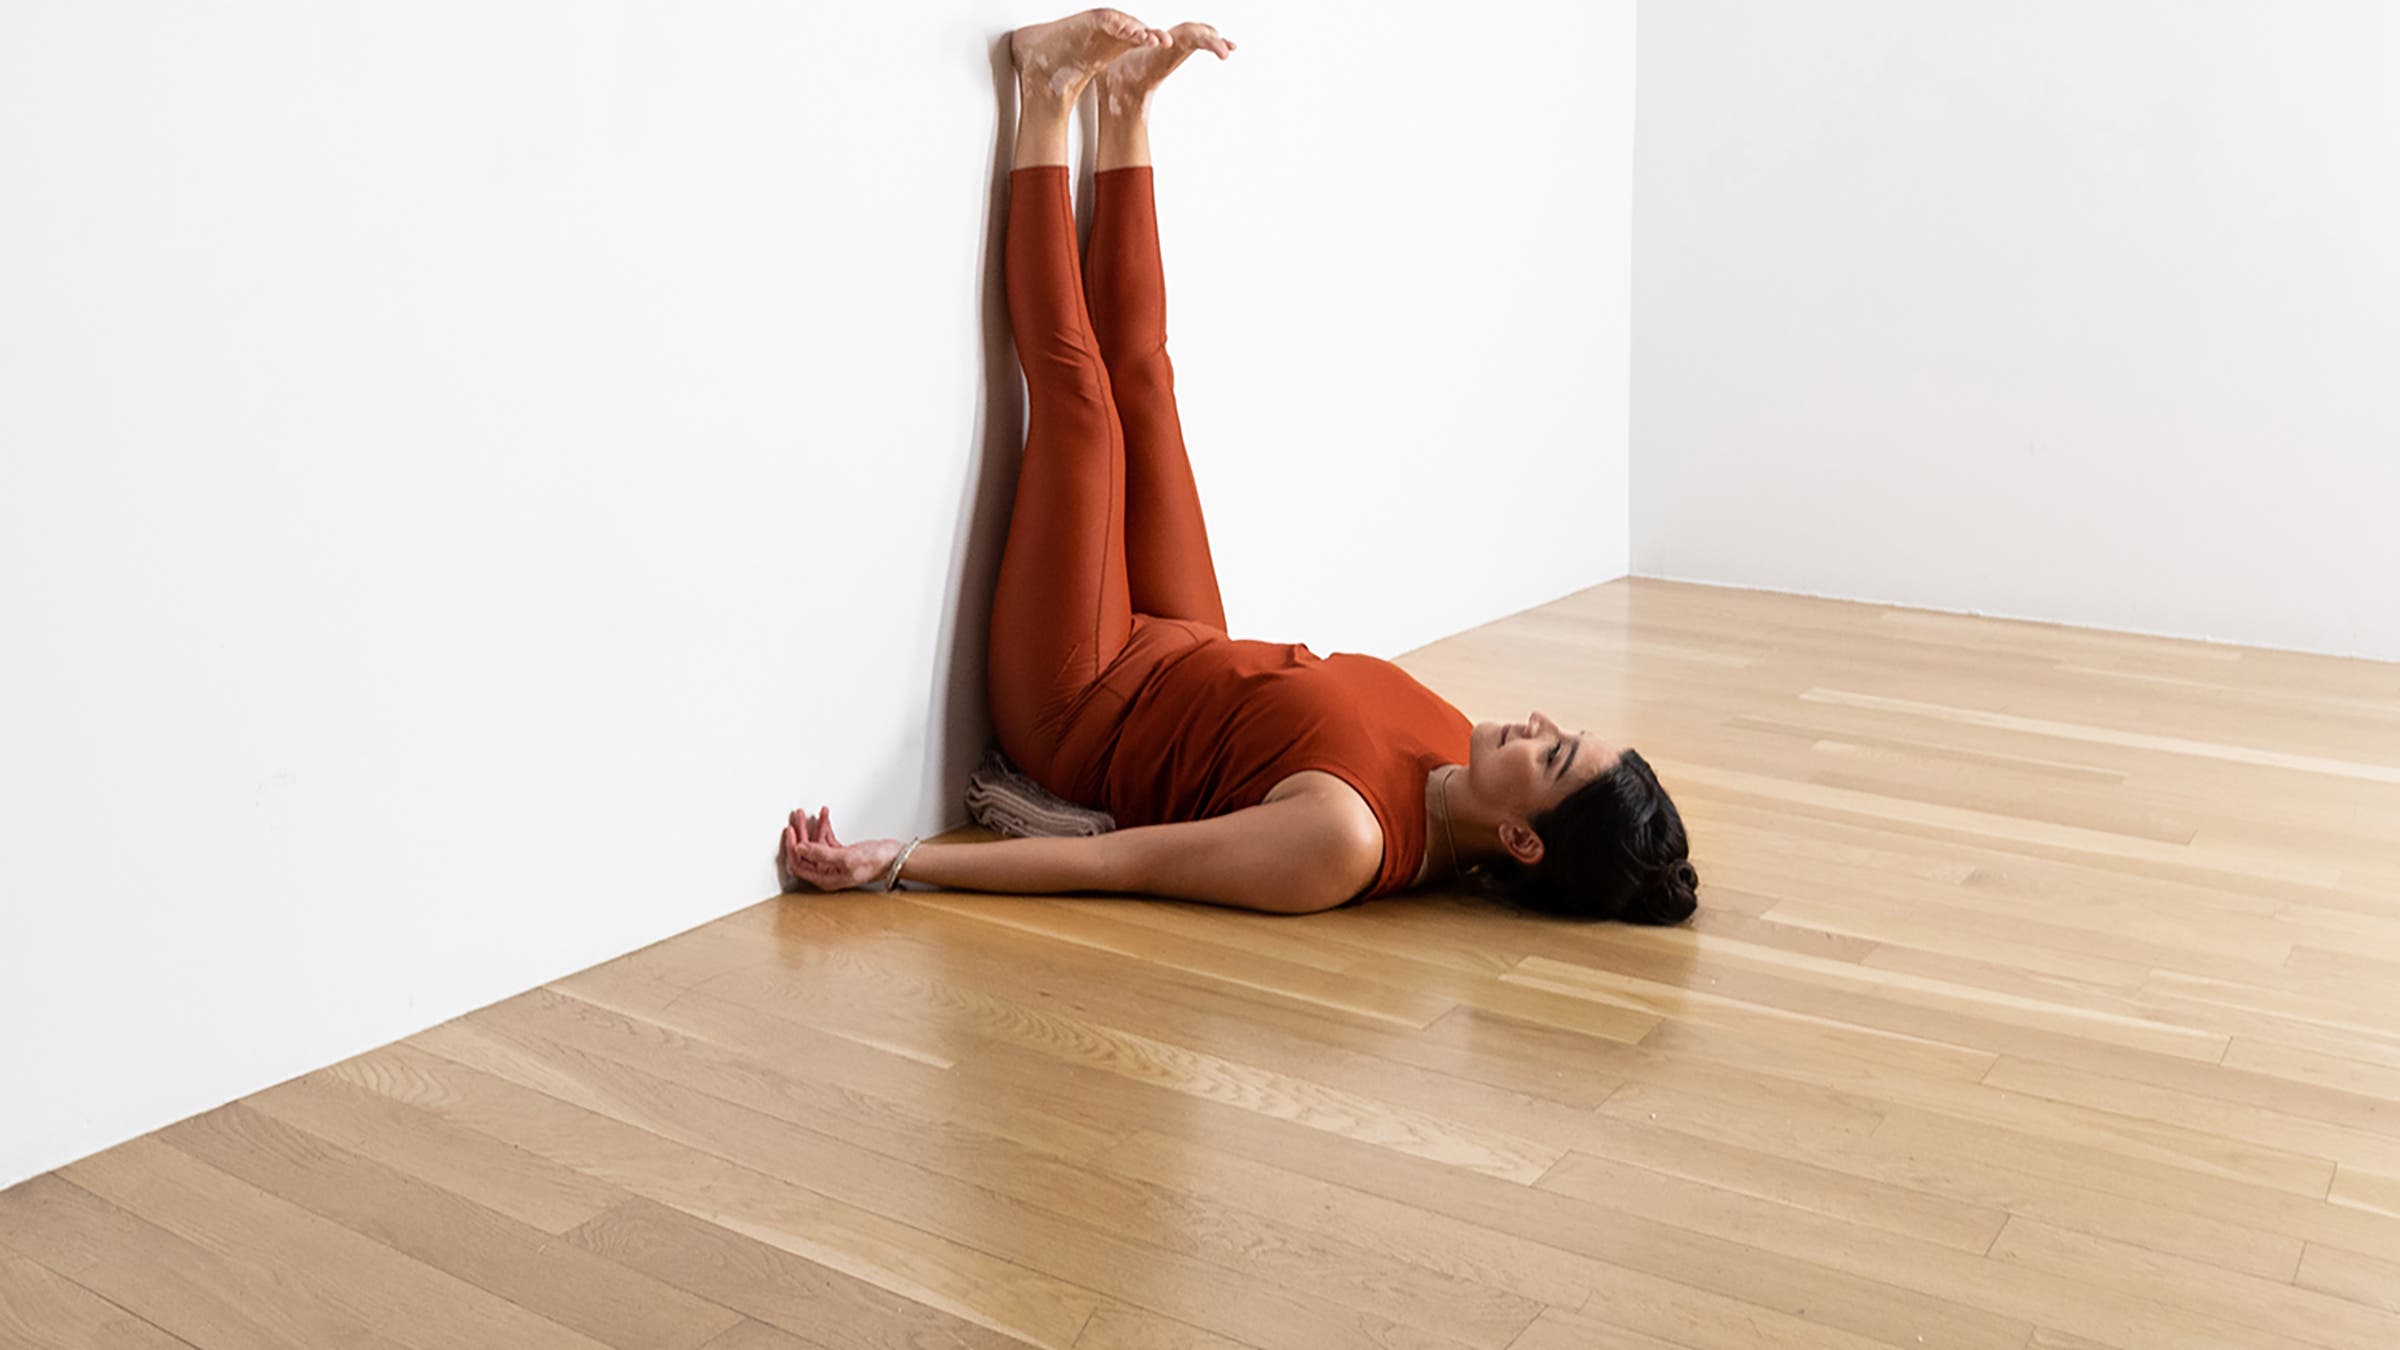
10. Legs-Up-the-Wall or Legs on a Chair (Viparita Karani Variation)
This gentle inversion allows gravity to do the work of decompressing the spine.
How to:
- Sit on the floor with one hip against a wall. Lie on the floor on your other side, then roll onto your back and slowly swing your legs up against the wall. Scoot your tailbone toward the wall. (It doesn’t need to touch the wall.) Or sit in front of a chair, lie on your back, and rest your calves on the seat of the chair. You can place a folded blanket or towel underneath your lower back for support. Position your feet about hip-distance apart and rest your legs against the wall or chair. Relax your arms at your sides with your palms facing up in Legs Up the Wall or Chair. Breathe here for several minutes.


